How to view and open SharePoint files with Windows File Explorer
Table of contents
Windows File Explorer is the familiar face of your Windows desktop. Open, click and search for files you need. Simple, right? Well, yes – it was simple when all your files were stored on your machine.
Nowadays, among Microsoft’s many cloud-based tools and platforms, you have SharePoint. Where storing your files in the cloud opens up all sorts of transformative possibilities. Everything from centralized sites and remote work environments, to real-time document management and collaboration. Plus plenty more in between.
Now, if only there was a method to combine the power of SharePoint, with the simplicity of Windows File Explorer. Well, the good news is that this method exists. Even better, it only takes a few clicks and minutes of your time. Watch our how-to video below or read on to find out how.
Reasons to access SharePoint through Windows File Explorer
- Fast access
Accessing your files and folders through the local File Explorer can take you fewer clicks than opening a browser and searching multiple SharePoint sites - Easy navigation
Using File Explorer means folders and files are located within a simpler URL with folder names, rather than the random character paths SharePoint can create - Sharing functionality
Right-click a file in File Explorer and you have instant access to SharePoint’s sharing functionality - User adoption
Using File Explorer offers an instantly recognizable screen to users less familiar with how SharePoint works - Sync made easy
When your device connects to the internet, changes made in Windows File Explorer are synced automatically to SharePoint - Version history
You can see all the file history versions, just like you can in SharePoint
Of course, for more advanced SharePoint features you can always go to… SharePoint. However, when opening and editing files, Windows File Explorer is the way to go.
How to sync SharePoint files and folders to your computer
Go to the SharePoint document library you want to make available through Windows File Explorer.
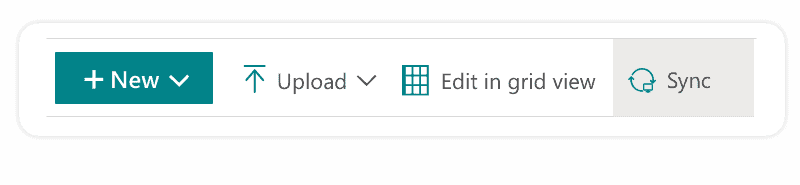
Click the Sync button.
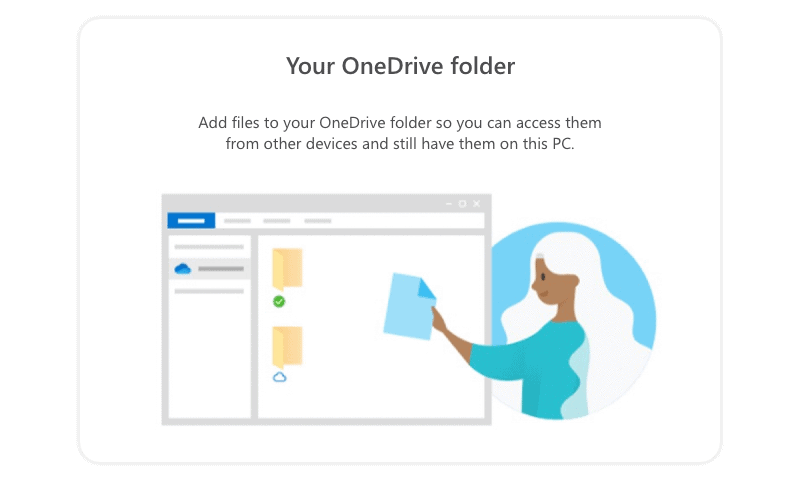
You’ll get a prompt to open OneDrive.
Click to open OneDrive. If you don’t have OneDrive, follow the prompt to install. If you have OneDrive and nothing happens when you click, you may need to install the latest version of OneDrive.
A notification shows that you’re syncing the folder.

When you’re configuring the OneDrive, you are also given the option to change the location where files will be stored on the computer.
When syncing is finished, your SharePoint files appear on the left navigation of Windows File Explorer under your organization’s name.
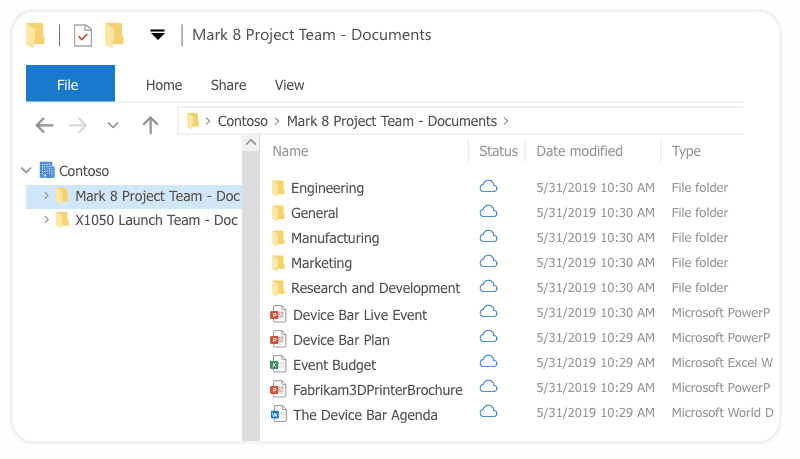
Your chosen document library is now available and synced.
Click and open it, like you would in File Explorer.
Enjoy taking advantage of all SharePoint’s possibilities!
Creating a web shortcut to a SharePoint Site
Ok, so now you know how to sync SharePoint document library files and folders to your computer.
Here are three ways to save even more time, streamline even more of your workflow, and save even more of your storage.
Using Quick Access for your synced SharePoint document library
You can add your synced SharePoint document library to Quick Access.
These are where your most-used resources are kept. Think of them like a set of favorite bookmarks you may have when browsing the web.
Open Windows File Explorer, and right-click on your newly synced document library.
Click Pin to Quick access.
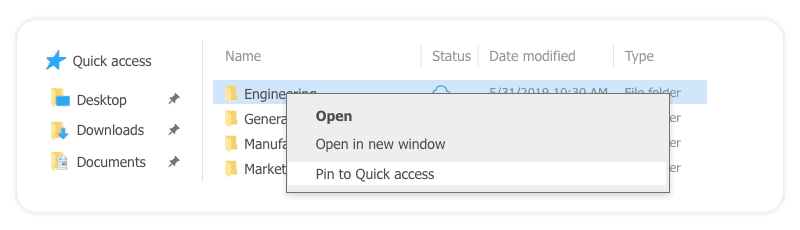
Now, every time you open Windows File Explorer, you’ll see the shortcut under Quick Access.
Using a desktop shortcut for your synced SharePoint document library
You can also make use of your desktop to access SharePoint.
Right-click on the synced document library.
Choose Send to, and then Desktop (create shortcut)
Your document library is now available from your desktop. Just bear in mind that deleting the shortcut doesn’t delete the synced document library.
Use Files On-Demand
You can also work with SharePoint files without downloading and using up your device’s storage.
You just need to enable Files On-Demand.
Here’s how.
Right-click the blue OneDrive icon in your Windows Notification area:

Click Settings and then the Settings tab:
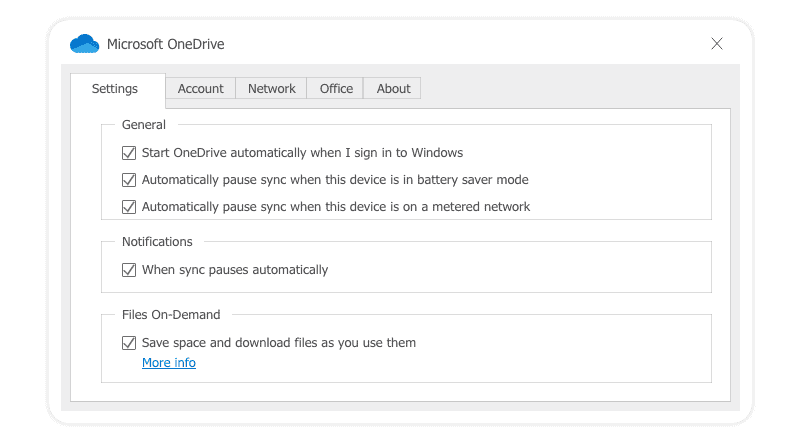
Tick the box under Files On-Demand.
How to stop syncing SharePoint files and folders to your computer
One day you might want to stop syncing.
Right-click on the document library, click Settings, and under Account tab click Stop sync by the document library you want to remove from syncing.
Troubleshooting errors when syncing SharePoint files and folders to your computer
Usually, it’s a straightforward process to access your document library through Windows File Explorer. However, there are some issues to be aware of:
- History versions are not copied when using sync or Windows File Explorer
Only the latest or published versions are copied - Your chosen SharePoint library isn’t configured to be available offline
Contact your SharePoint administrator and ask them to choose Yes for Offline Client Availability - File conflicts between local and SharePoint versions
Right-click the OneDrive icon on the taskbar and choose Resolve to view options for resolving conflicts
How to reduce risks of syncing SharePoint document libraries locally
Along with the advantages of syncing, there are also security risks.
With files and folders stored locally, the user’s physical device becomes a potential target for theft.
It also becomes harder for administrators to maintain a centralized overview of the environment, ownership, and usage patterns.
There’s also the question of user access and best practices. Setting a file to be shared by anyone may appear to be the easiest and quickest way to get work done. However, it then becomes harder to keep track of any sensitive data contained within.
How to control and manage document library access
The level of security risks are why many IT leaders are choosing tools that automate governance of document libraries, folders, and files.
These offer a central web interface for compliance managers, CSOs, Office 365 Admins, auditors and business users. A single location to create security reports and access audits, manage user activity and content usage, and control workspace creation and provisioning.
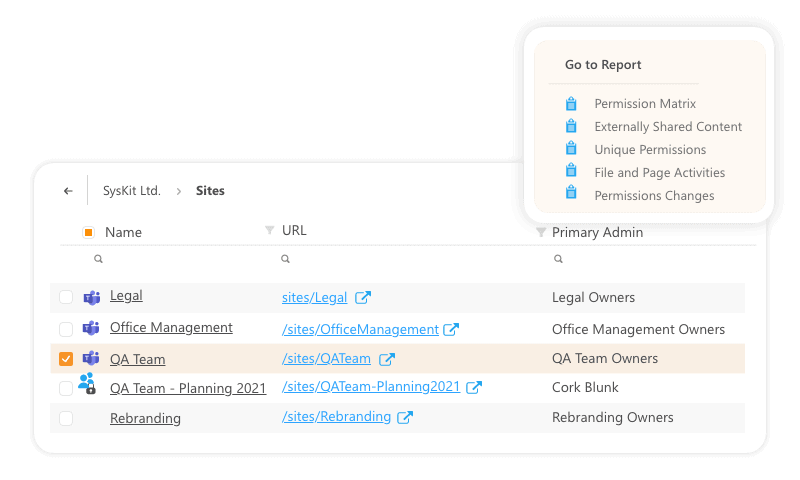
A leading example is Syskit Point. Its user-friendly dashboard includes the Permissions Matrix. This gives a structured view of shared files, hierarchies, and user access. To edit access, click next to the file:
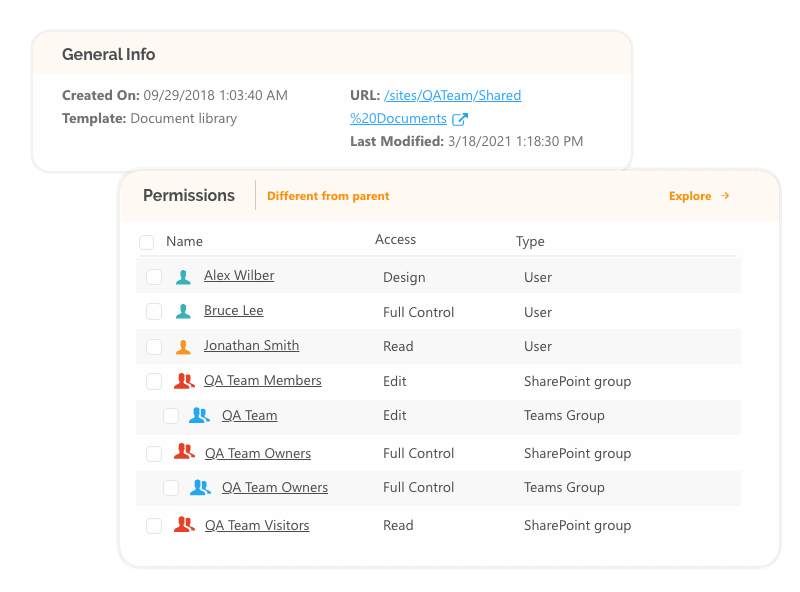
You can also see who has access to what, and remove or edit their access with a few clicks:
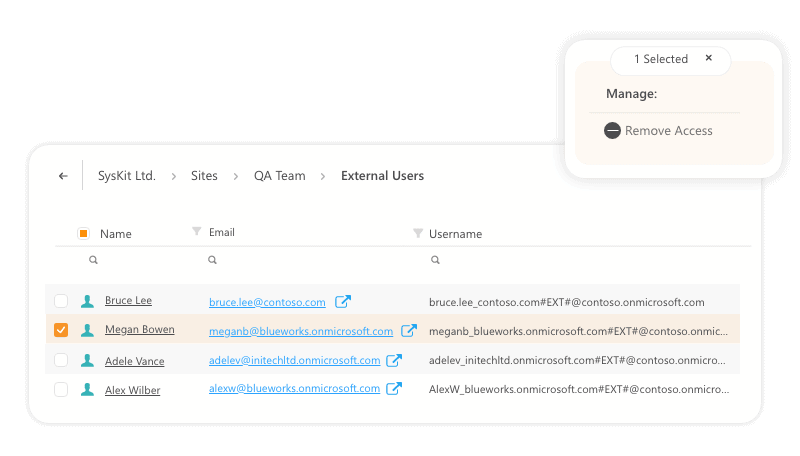
You can use Syskit Point for internal and external users. Simply click on a user who’s no longer collaborating to remove access:
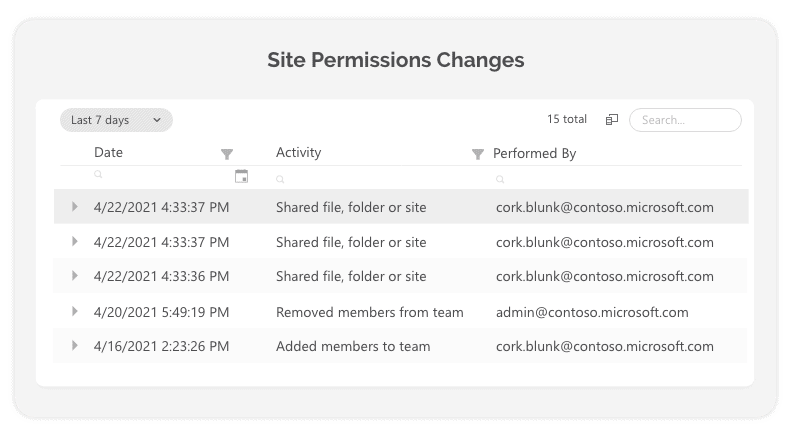
You also get an overview of any changes to file permissions:
These are just some of the many powerful features available with Syskit Point. Start a free trial to discover how you can stay in full control of your Office 365 environment.