Using Microsoft Teams and Planner for project management
Table of contents
In this post, we’ll go over the five phases of project management and how you can implement Microsoft Teams, Planner, Calendar, and other Microsoft 365 apps in each of them.
Initialization stage with Microsoft Teams
It all starts with a place for all your project discussions and tasks. The first step of using Microsoft Teams for project management is to create a team for all members involved in the project. That is a central location to discuss the project matters and track its progress. If your project involves confidential data, the best option is to create a private team and add the pre-authorized members only.
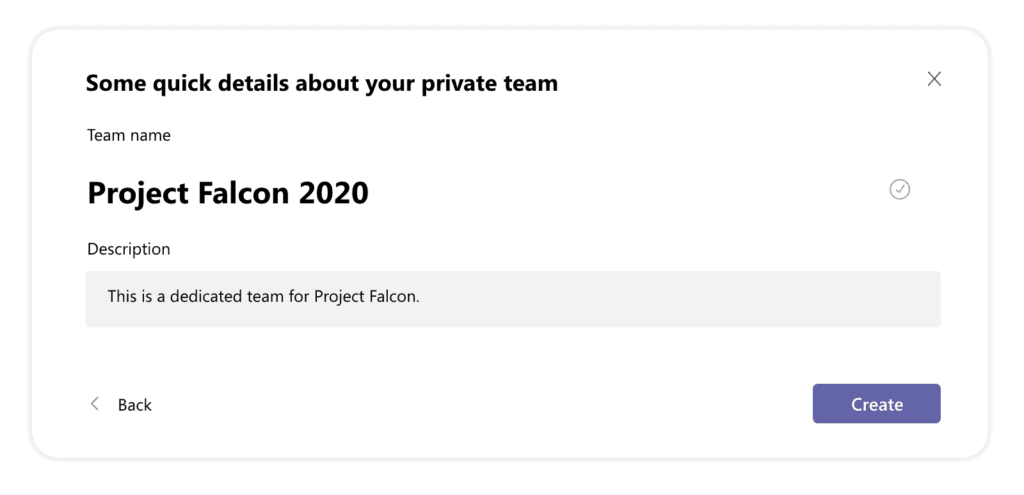
The next step is creating channels, which can help you differentiate the topics of your discussions. There’s always a general channel by default, and you can create additional ones. For example, you can add channels that focus on each milestone of the project or different technologies on which your project is based.
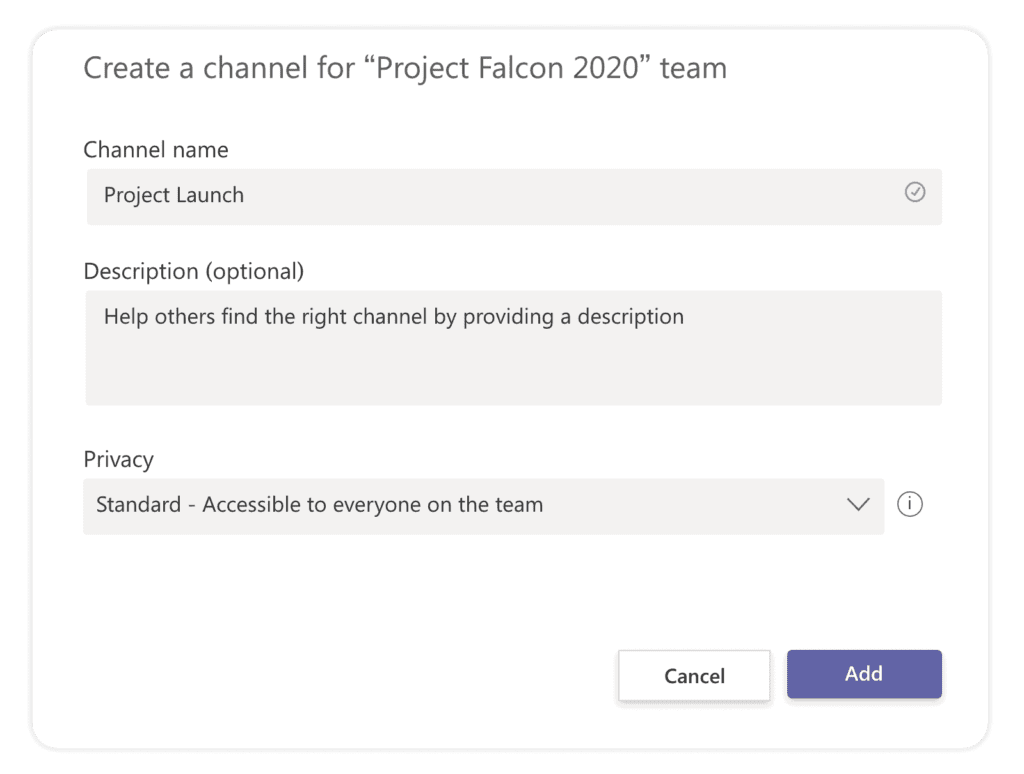
Moreover, there are private channels. Only a subset of team members you specifically invite can see those. That is a great way to keep sensitive materials, such as legal and HR documents, out of the sight of other team members.
The final step in a Microsoft Teams project management setup is creating a dedicated plan for a project in Planner. It’s a great way to visualize and keep track of all the project stages, deadlines, and tasks. You can add a plan to your general channel tab and have it available for the project duration.
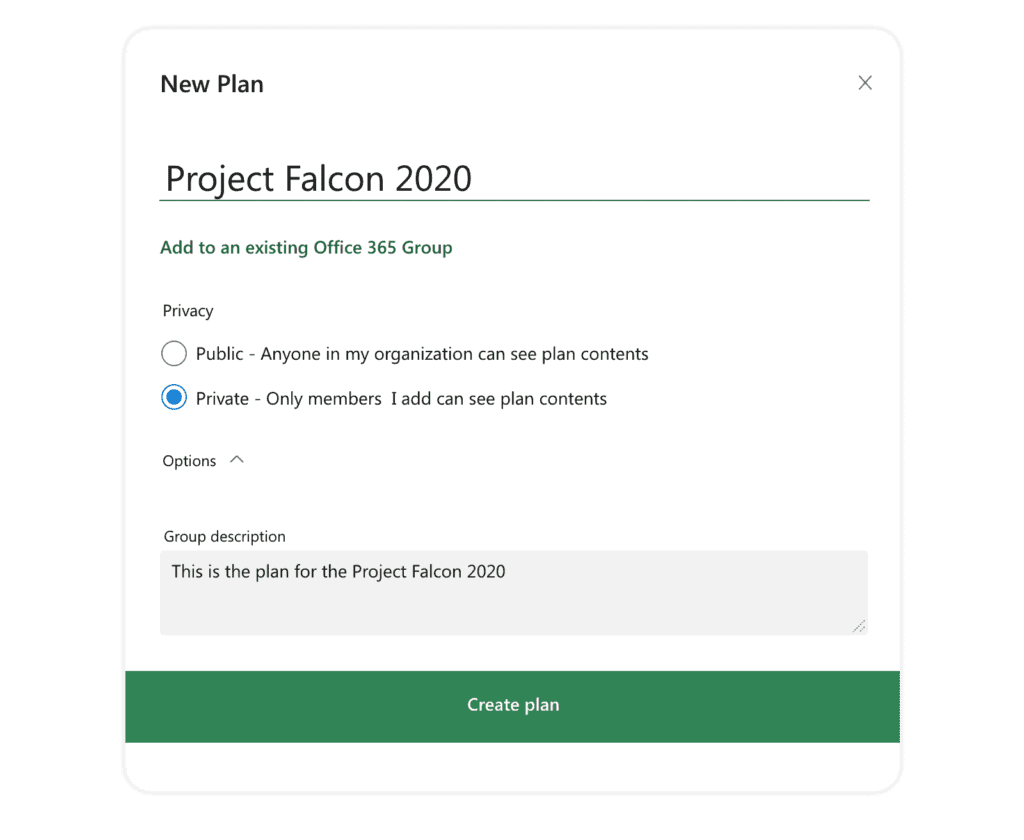
Planning stage with Microsoft Teams and Planner
The second phase includes the detailed planning of the project. Planner has excellent options for task visualization with a Board, Charts, and Schedule mode. While the Board is a task-oriented interactive drag-and-drop dashboard, the Charts mode visualizes the statuses and priorities of each of the tasks. Schedule mode is perfect for checking when the pressing tasks are due.
Once on the board of your plan, you can easily create tasks and buckets – columns to arrange your tasks to fit your planning process. You can organize them according to your milestones, planning stages, or to task owners.
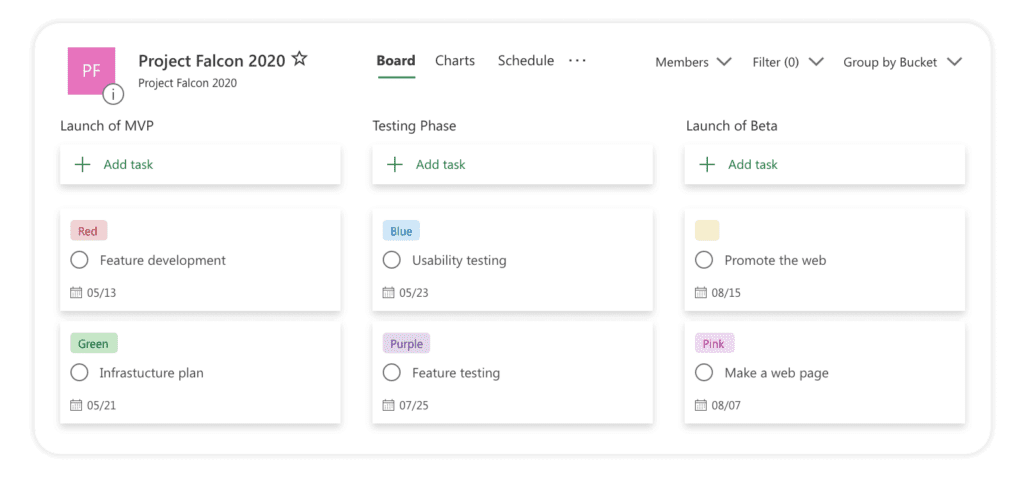
Each team member can make tasks for themselves, or a project manager can create and assign tasks to every participant on the project. An email notification will remind task owners of their due dates and task changes.
Project execution with Microsoft Teams and Planner
With a plan as your project blueprint, you can continue to the next phase – project execution. Depending on how you organized your plan board, you can either visualize your stages with buckets or track the execution of each task with a progress tracker.
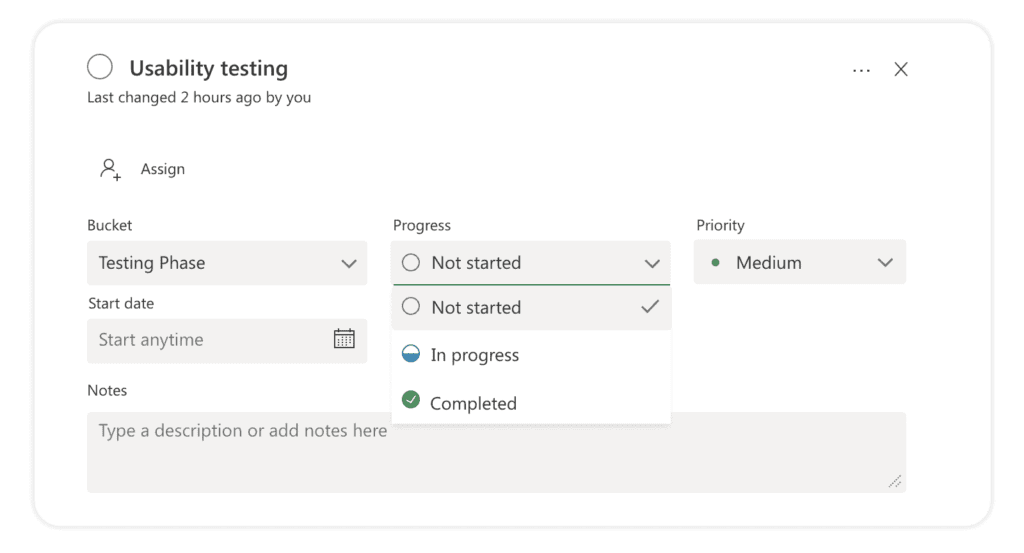
You can append progress stages to each of the tasks. Once you complete it, the job moves to the completed section and clears out your board. You can revisit the completed job by finding it in the drop-down menu below the active tasks.
Since Planner is one of Microsoft’s apps, it syncs with all their other tools. When you created your team for your project, you also got a dedicated SharePoint site. Accordingly, you can add SharePoint documents and folders from that site to a task without leaving the plan.
It works the other way around, so everything you share within a task is saved to your SharePoint document library. That is the best way to have all your project work saved safely. Check out more Microsoft Teams’ best practices for administrators.
Project monitoring with Microsoft Teams and Planner
To keep track of how the project is progressing, you need to define the schedule for recurring meetings with the project stakeholders. You can specify the interval for repeating meetings on Teams with the help of Calendar and Scheduling Assistant. Calendar is the app integrated with Microsoft Teams and is available to every team member in the menu on the left side.
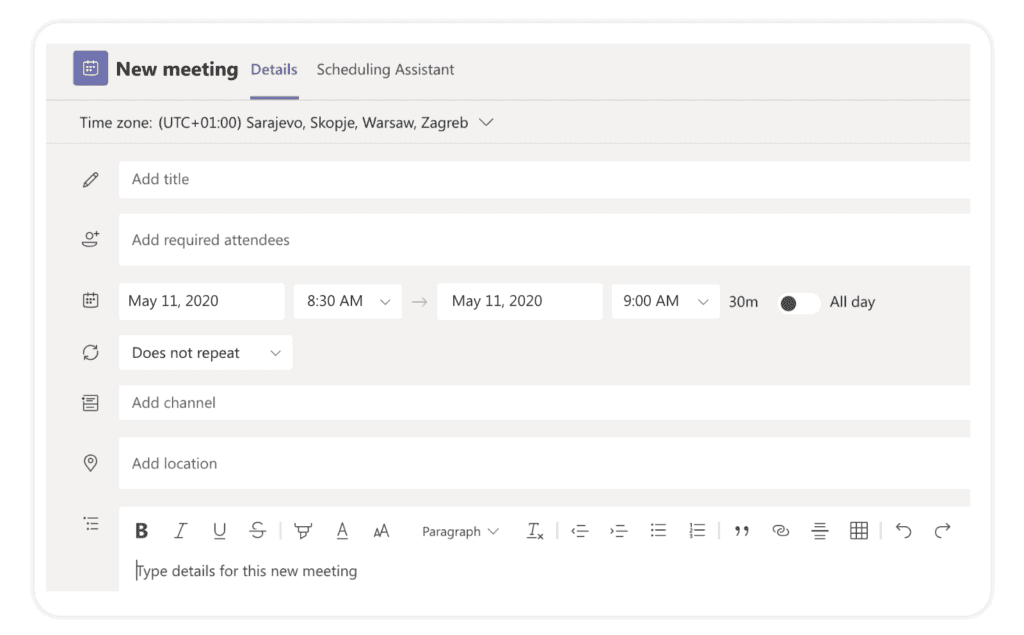
On top of the scheduled regular meetings, you can invite any team member to a meeting on the fly to discuss urgent matters of the project. Meet with a teammate in person via chat or invite the entire channel to go over pressing issues.
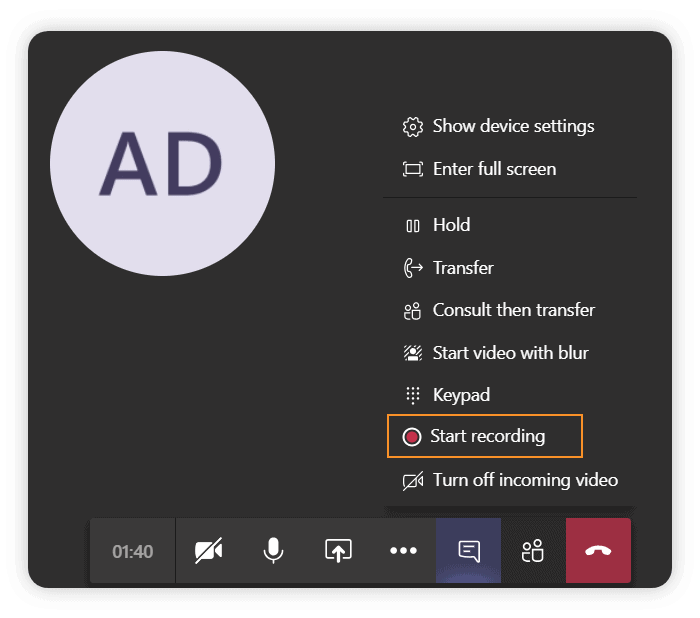
Once at the meeting, you have several options at your disposal. You can have a video or audio call or even share your screen or share files with your Microsoft Teams‘ members. If you want to revisit things said in the meeting, you can record it and have it saved in the Stream watchlist. Also, you can add meeting notes and send them over to the project stakeholders and keep them in the loop.
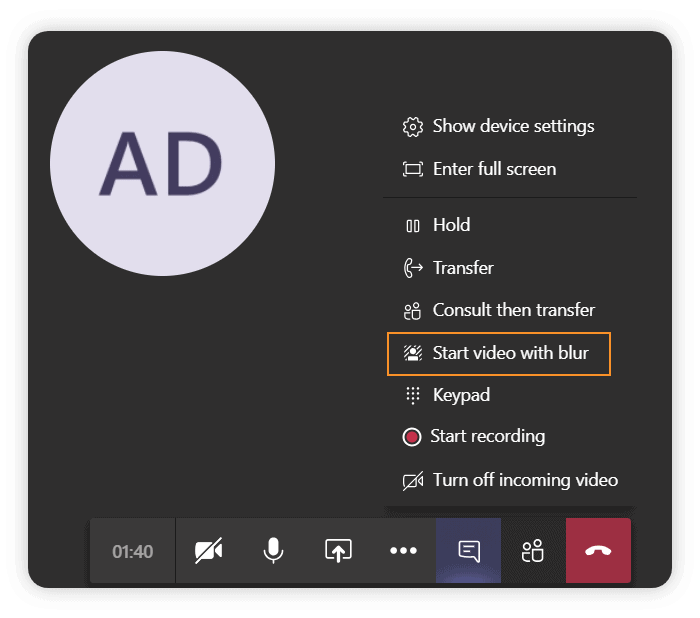
Microsoft Teams adds more features each day. If you’re working from home and want to protect your privacy, you can blur your background while on a video call or add custom backgrounds. Read our recent blog post to check out more remote meetings tips with Microsoft Teams.
Project closure with Microsoft Teams
When your project is over, you can present your final result to all project stakeholders via Teams meeting. Make a safe place for your project deliverables in a SharePoint folder and share it with all stakeholders via email. The documents you share in SharePoint Online are placed in the cloud, and they can’t be lost until you remove them.
