How to use breakout rooms in Microsoft Teams
Table of contents
Having breakout rooms gives you the option to have smaller meetings within larger meeting in Microsoft Teams.
Maybe you’re doing training and you want people to temporarily go and work in smaller groups. You might want departments to have their own mini-meetings and then come back into the main meeting and give feedback to the whole group.
Training, education, private chats – it’s all possible with breakout rooms.
Check out our how-to video and extended blog below.
Who can create breakout rooms in Microsoft Teams
Only meeting organizers create breakout rooms. The icon to create won’t be visible to participants.
You can create breakout rooms for any Meet Now or scheduled meeting that’s running.
To create breakout rooms, you’ll need to be using the Teams desktop app.
How to create a breakout room in Microsoft Teams
You can set up a breakout room at any time during the meeting.
First of all, start your Teams Meeting.
Along the top of your meeting controls, click the breakout rooms icon.

A prompt will appear. Here’s where you can configure the breakout rooms for your meeting.
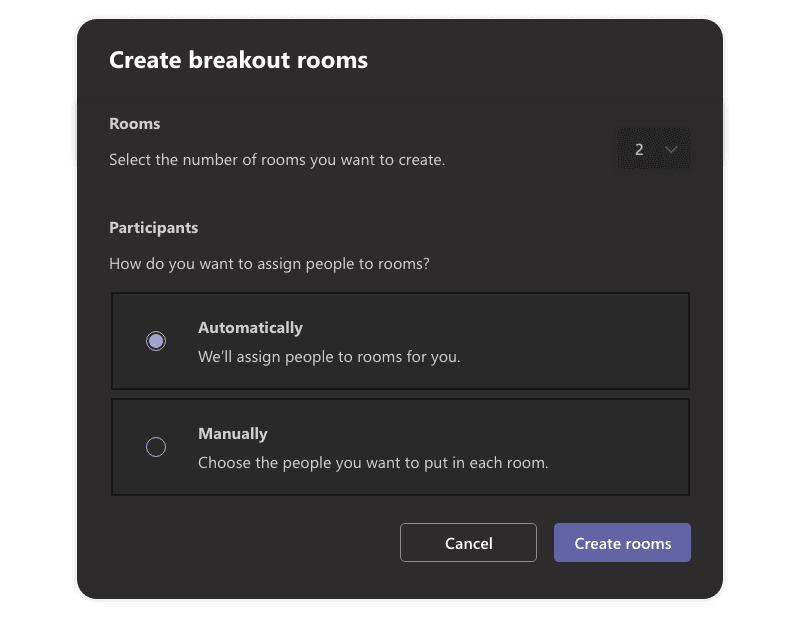
Choose the number of breakout rooms, up to 50.
Assign people to breakout rooms
You can choose how to assign people to a breakout room.
Microsoft Teams can do it for you automatically (an equal number of participants are assigned at random to a breakout room, with a maximum of 5–6 people in each).
Alternatively, you can assign people manually.
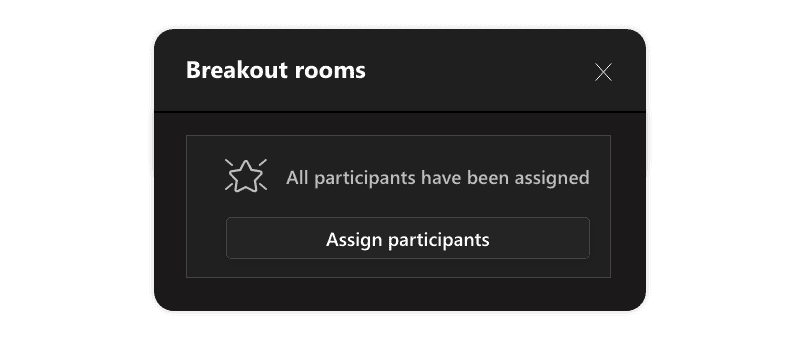
Click Assign participants. This opens a list of participant names. You can also use the search bar to find specific participant names.
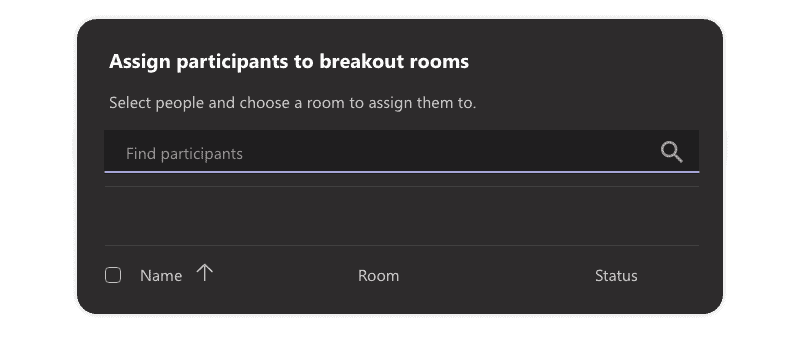

Tick the box next to their name, and then click the dropdown under the Room column to select the room.
When you’re finished assigning, click Assign participants. They’ll now appear in the breakout room.
You can also do this during meetings, to move people between different breakout rooms.
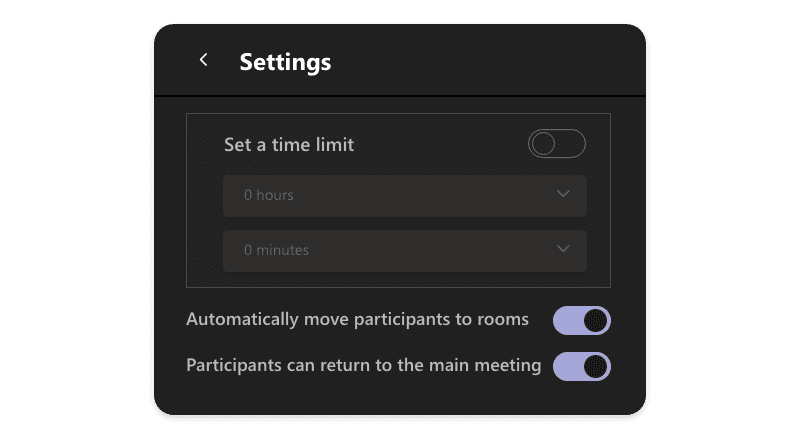
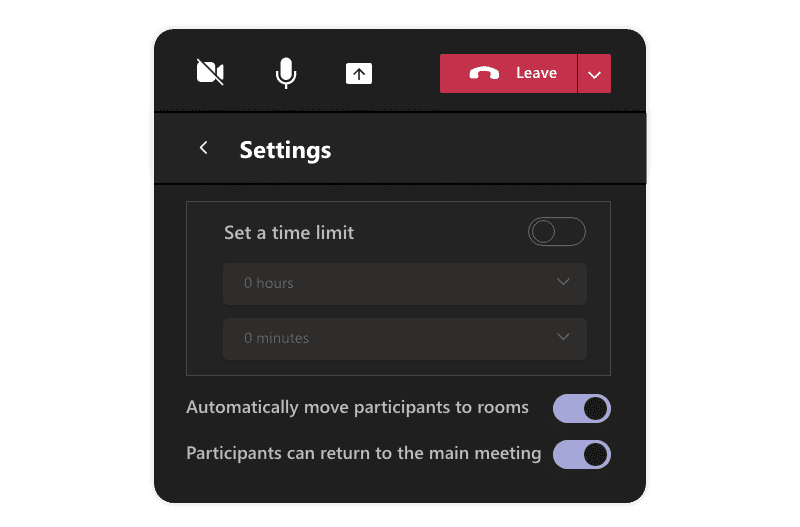
You can also set whether participants are moved automatically to rooms. Open Settings and click the toggle button.
How to join a breakout room in Microsoft Teams
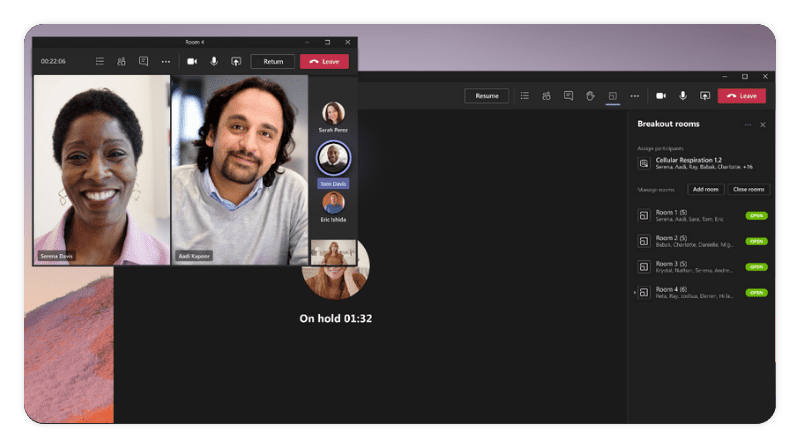
As the meeting organizer, you can join any of the breakout rooms.
Click on the breakout room icon.
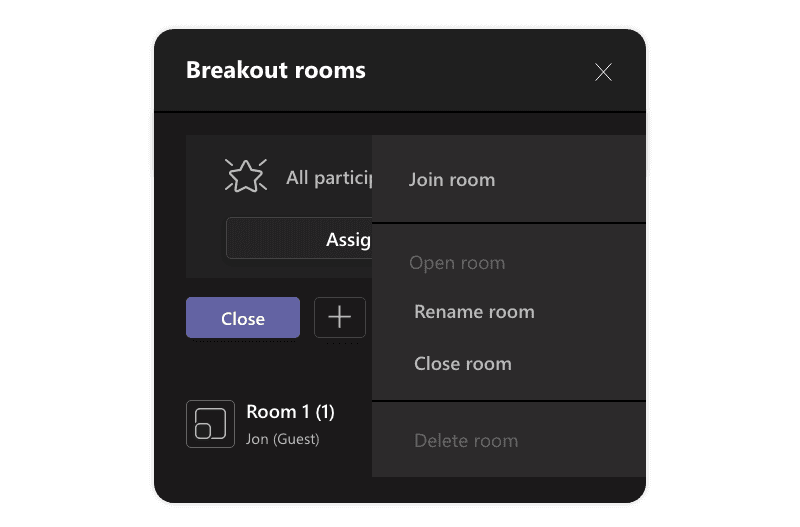
Find the room you wish to join. Click the three dots, and then click Join room.
How to rename a breakout room in Microsoft Teams
Click on the breakout room icon.
This opens up an overview of the breakout rooms you’ve created.
Click on the three dots. You can now click on Rename room.
How to add extra breakout rooms
Click on the breakout room icon.
Click on the + sign/add room.
This automatically adds another breakout room.
Click the + sign to add as many extra breakout rooms as you need, up until the 50-room limit.
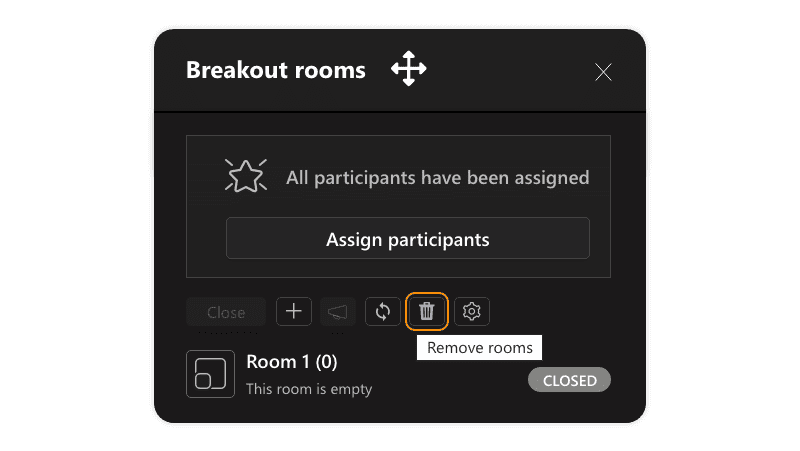
How to remove extra breakout rooms
Click the breakout room icon. Hover over the breakout room you want to delete. Three dots will appear.
Click this and then click Delete room.
To delete all breakout rooms, click the Trash icon.
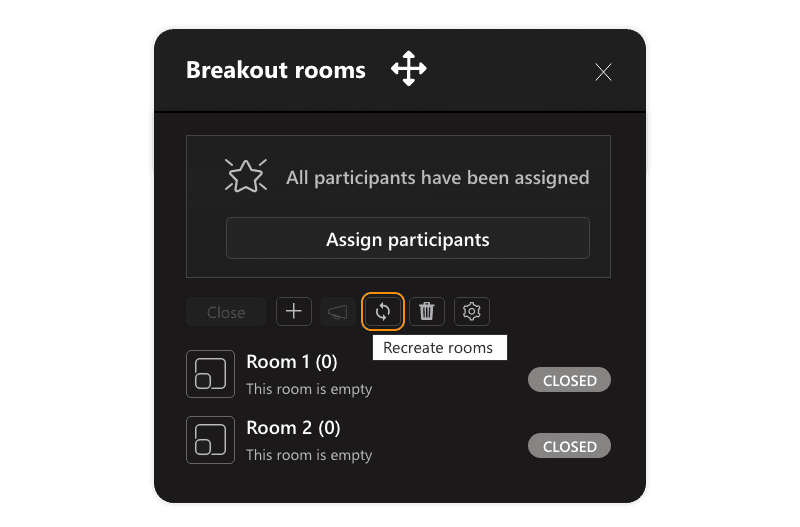
To delete all rooms at once and start again, click the Recreate icon.
How to set a time limit for breakout rooms
Sometimes you might want to limit how long people can spend in breakout rooms.
Click the Settings icon
Click the toggle next to Set a time limit. You can now choose how many hours and/or minutes.
A countdown timer is shown in the breakout room, so participants know how long they’ve got. After the time is up, members are automatically sent back to your main room.
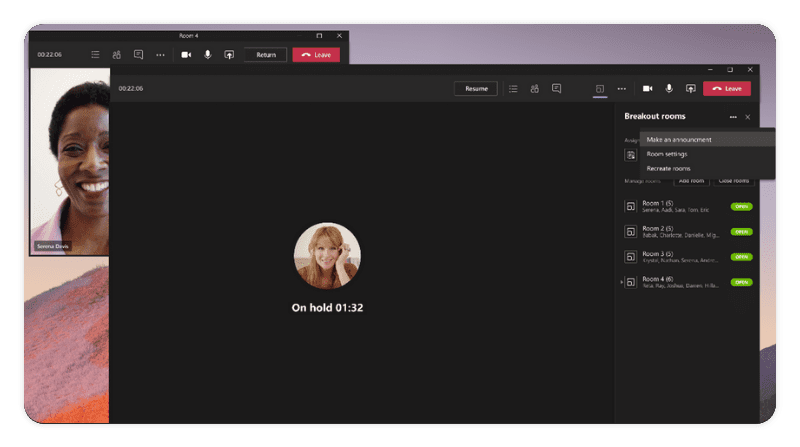
How to make announcements to all breakout rooms
You might want to alert everyone how much time they have left. Maybe add some guidelines or rules that all participants need to know. Or simply make an announcement without going into each room.
That’s when you click the Make an announcement icon. Enter what you want to share and click Send. Participants in the breakout rooms will all receive a notification.
Security for Microsoft Teams and Microsoft 365 environments
As you can see, much of the responsibility falls on the meeting organizer. From managing participants, to ensuring the right access to the right rooms.
Syskit Point lifts this Microsoft Teams burden from organizers, IT teams, and admins.
- You can track activity within Teams, control Office 365 workspace creation, and automate governance processes.
- Provisioning features are available for restricting access and sharing. There’s also end-to-end permissions and membership auditing. Plus customized approval flows available within the Teams app.
- You can troubleshoot issues, receive alerts, and see when, where and, who is responsible for errors.
Start a free trial to explore how Syskit Point can secure Teams, and your entire Microsoft 365 environment.