The ultimate SharePoint on-premises administration tool for SharePoint farm documentation and auditing. If you want to take control of your on-premises SharePoint farms, then SPDockit is the tool you’re looking for.

Save time
Save time by automating routine administrators’ tasks.
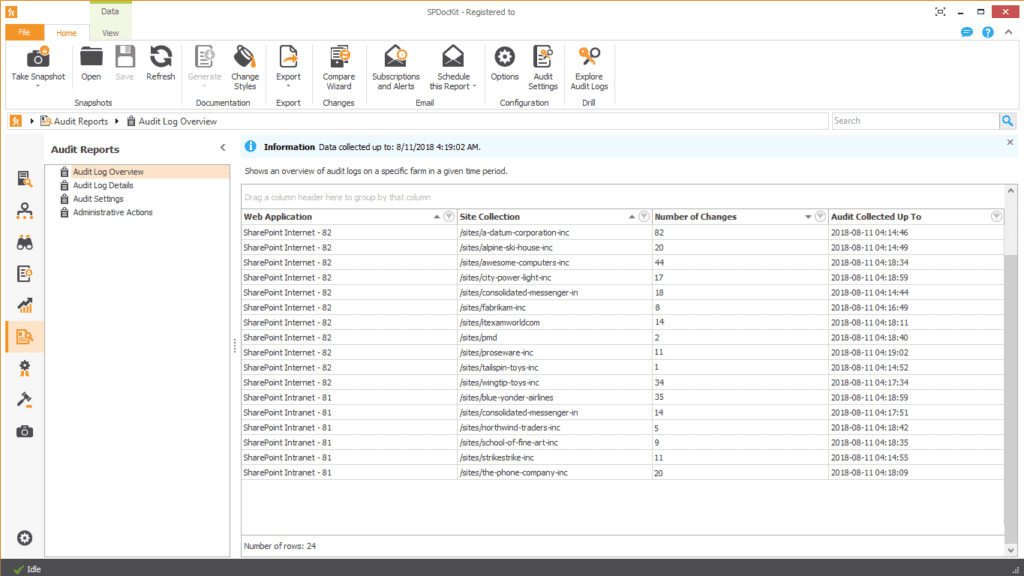
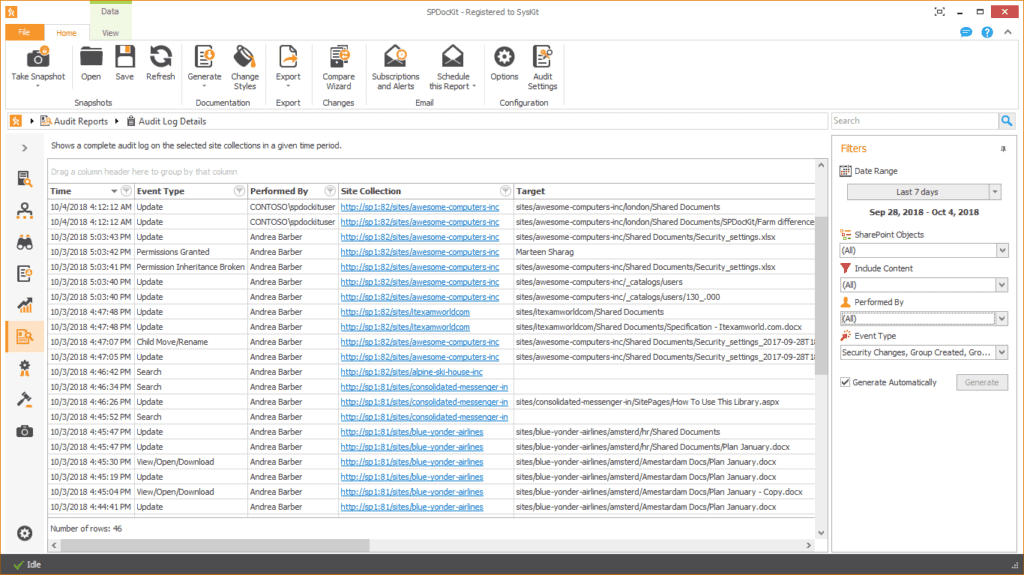
Increase security
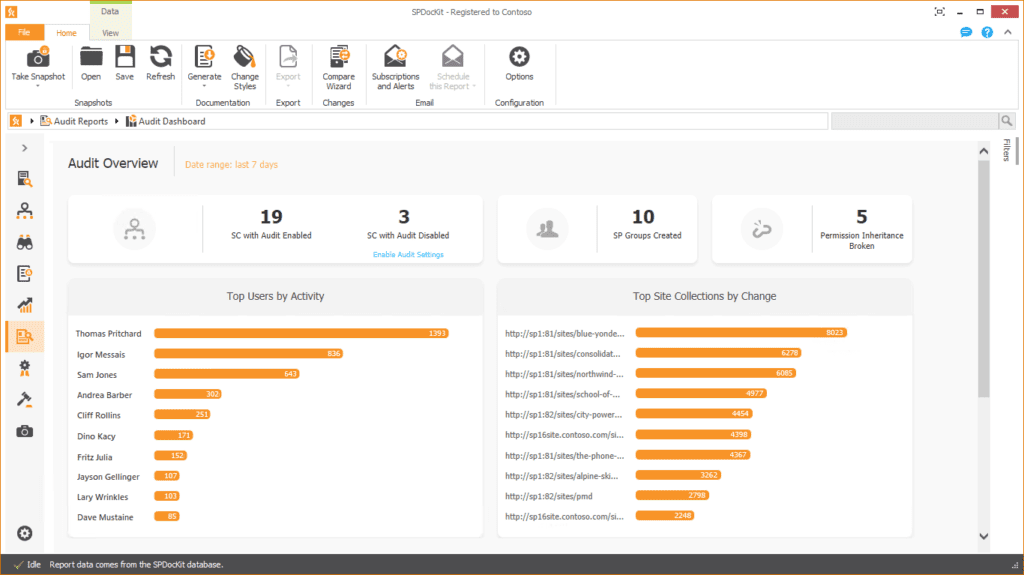
Increase data security and audit changes in your farm.

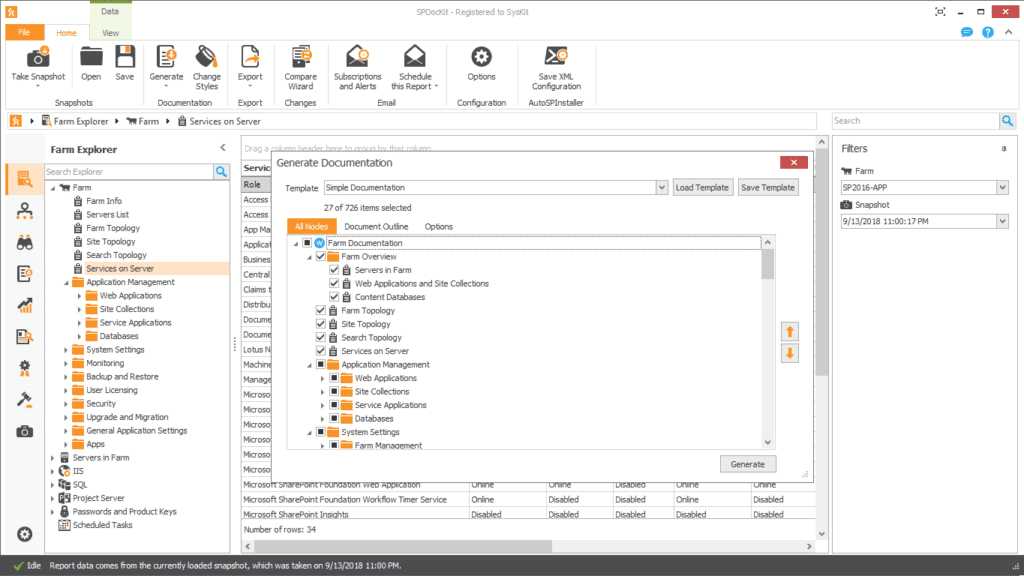
Document easily
Document configuration and explore your SharePoint structure.

Automatically create professional SharePoint documentation containing all the SharePoint farm configuration settings and save hours doing so.

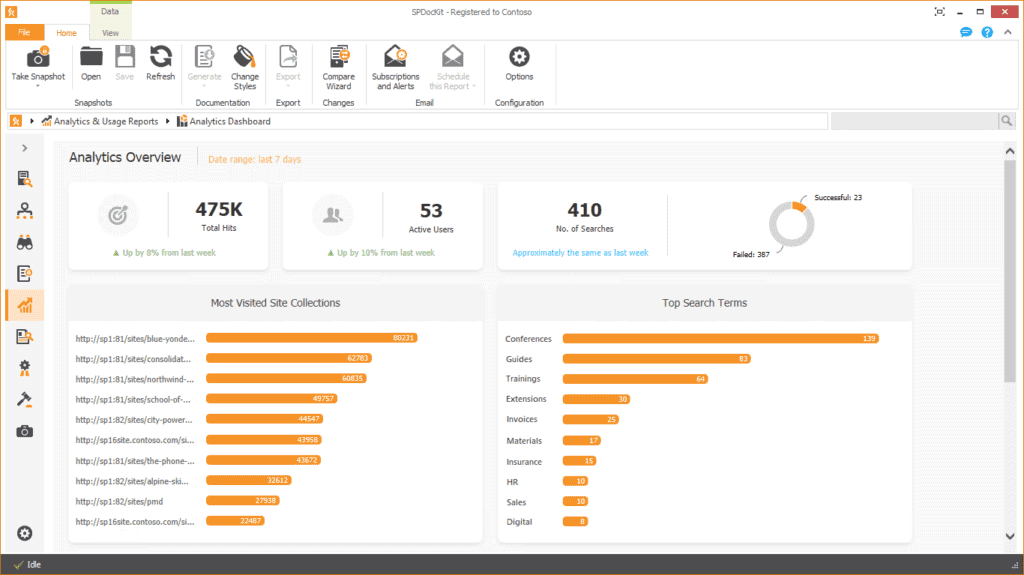
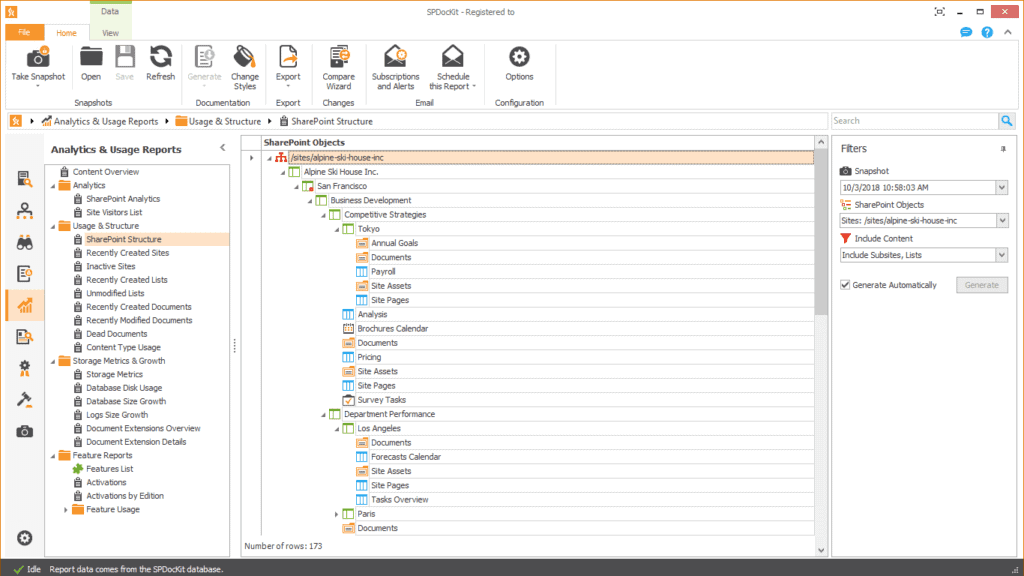
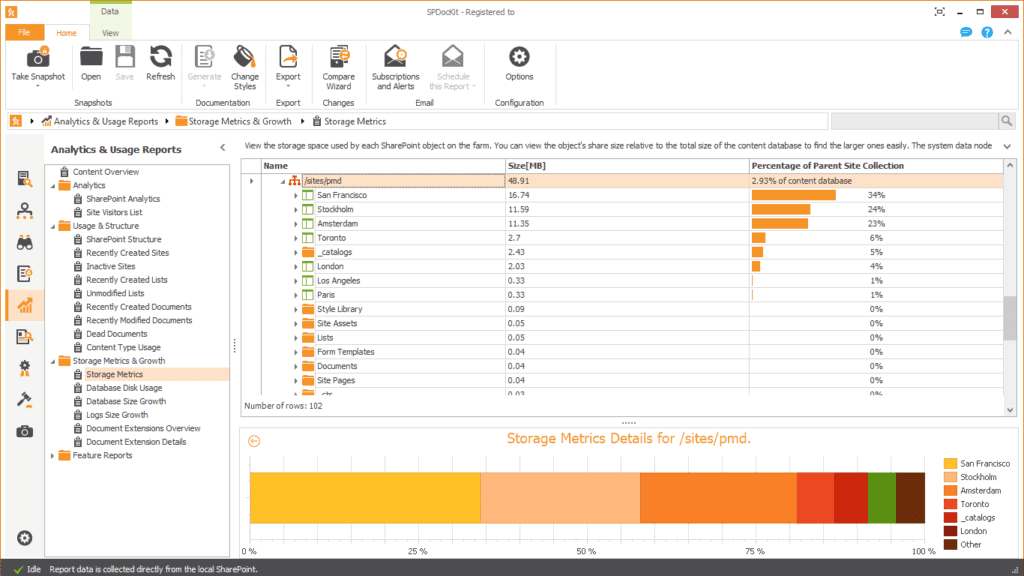
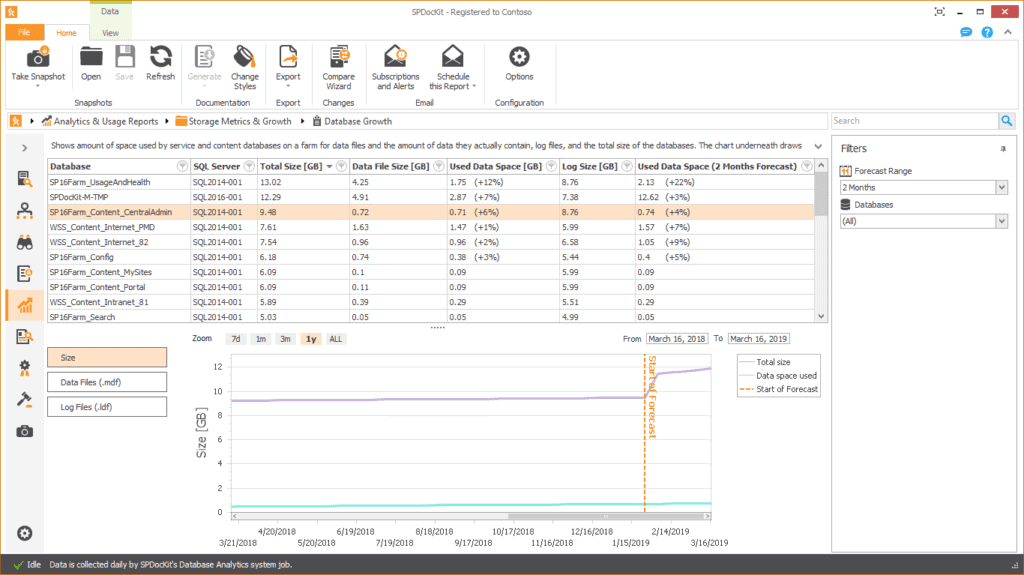
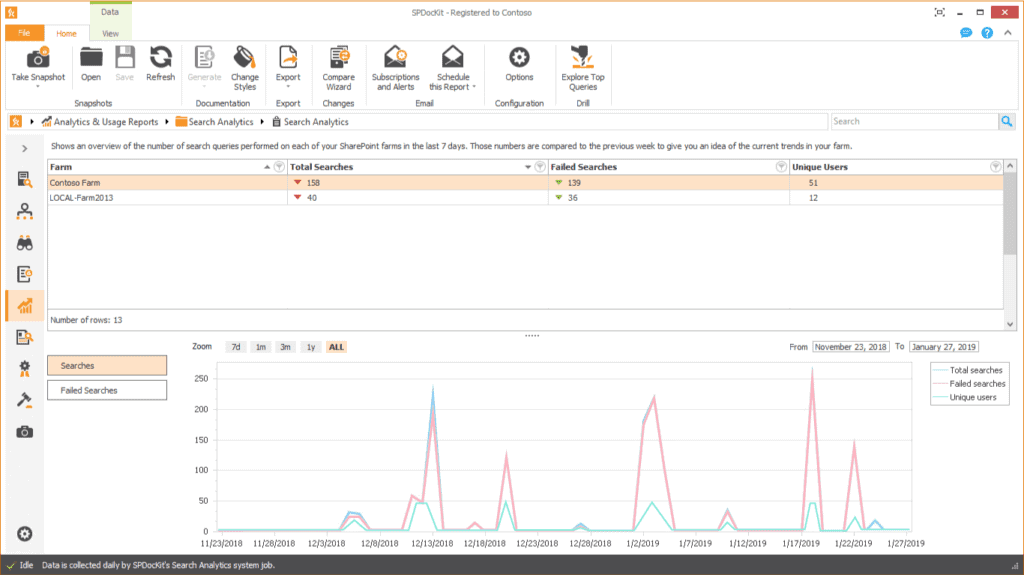
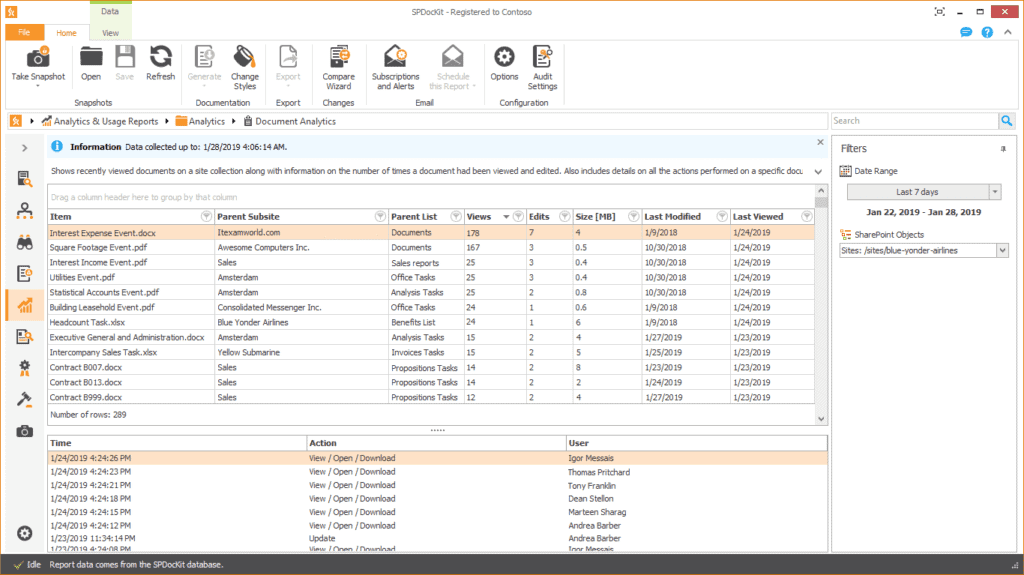
Monitor how your site collections are being used – track visitors, storage, and subsites metrics. Check site structure and feature usage.

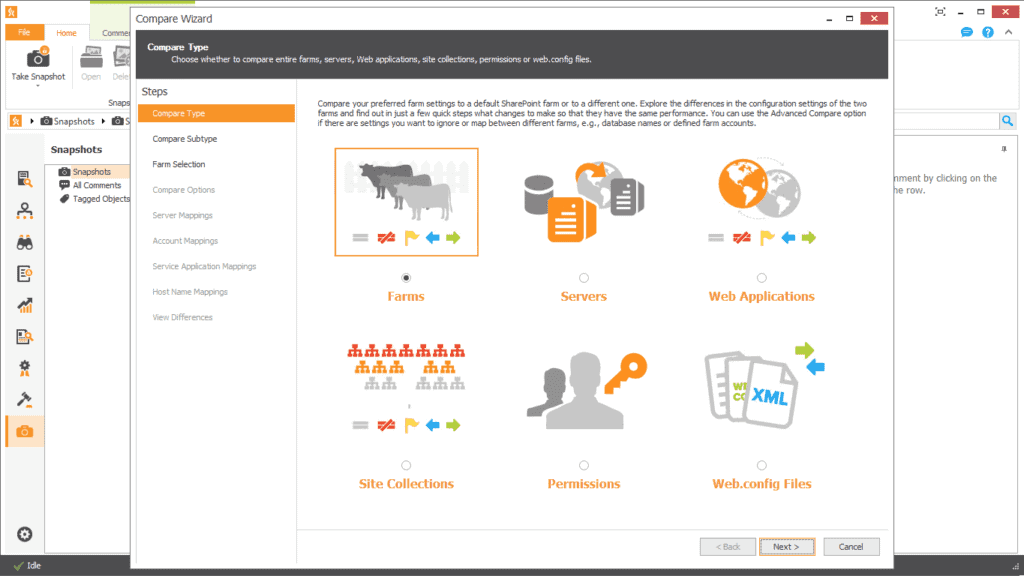
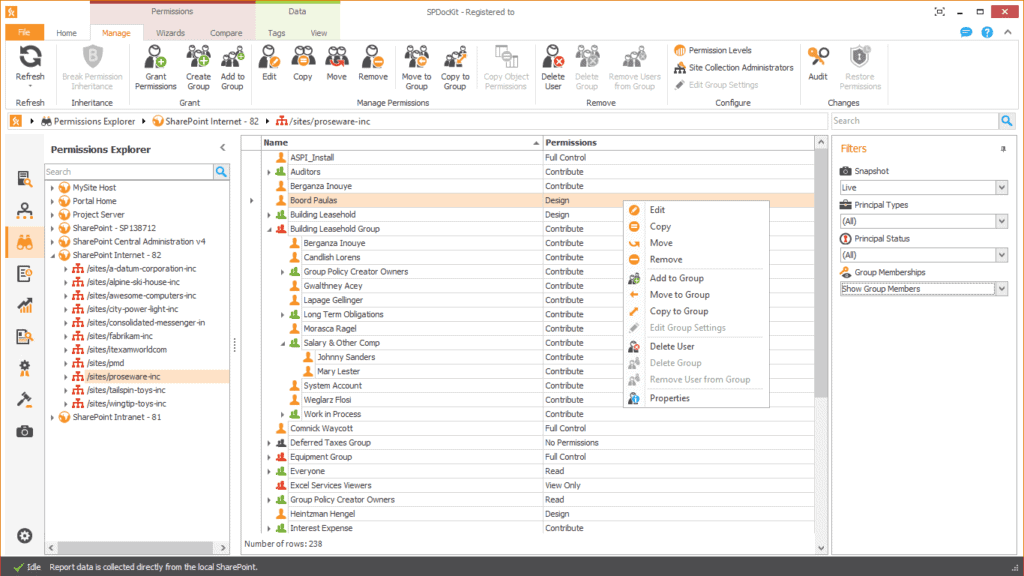
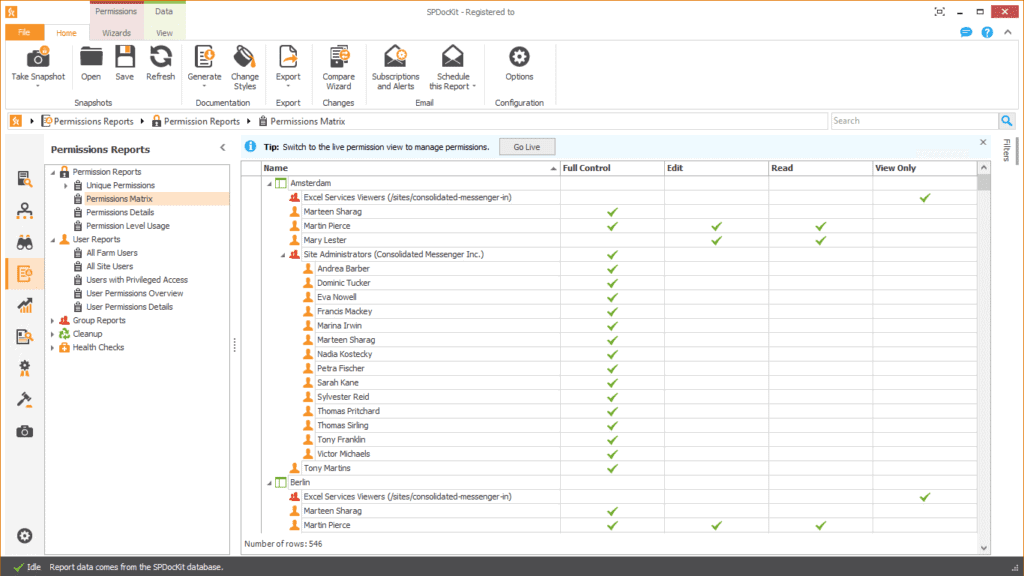
Select historic or live data, explore permissions, and create reports for users and groups. Manage and restore permissions.

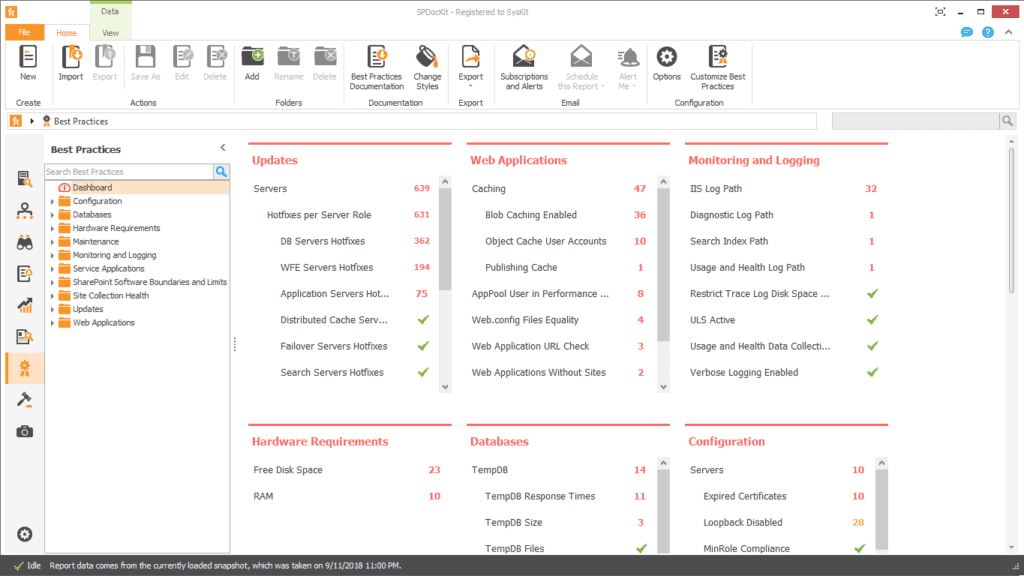
Enforce company policies across your SharePoint farm using queries and rules. You can automate governance policies by establishing a set of SPDockit rules, saving you hours of manual work and check-ups.
Take full control and save hours of manual work
SPDockit enables you to get an in-depth view of your entire on-premises SharePoint environment while also helping you save time by automating tasks.
Automatically create professional SharePoint documentation containing all the SharePoint farm configuration settings and save hours doing so.
Monitor how your site collections are being used – track visitors, storage, and subsites metrics. Check site structure and feature usage.
Select historic or live data, explore permissions, and create reports for users and groups. Manage and restore permissions.
Enforce company policies across your SharePoint farm using queries and rules. You can automate governance policies by establishing a set of SPDockit rules, saving you hours of manual work and check-ups.