SharePoint Online health check in 4 steps
Table of contents
In an ideal world, we would build our SharePoint Online tenant from scratch, following all the Microsoft best practices and life would be easy.
However, in the real-world SharePoint tenants have been built up over time with different admins and developers coming and going. Office 365 and SharePoint are also constantly changing so last years best practice may not be the current recommended way of doing things.
All of this can result in you having to manage sprawling, disjointed deployments with no documentation to help you decide where any performance issues lie. A solution to this is to perform your own SharePoint Online health check and thus make sure you don’t get hit by any nasty surprises in the future.
1. Monitor site collection storage
The first step to take is to look at the way your sites and content are structured. It is important to remember that even though you can’t see it in SharePoint Online, a SQL database is where all the data held in your site collection is being stored.
To check how much content is stored in your site collection do the following:
- Go to Site Settings in your root site collection
- Under Site Collection Administration click Storage Metrics

This will give you a page showing storage used by all sites, libraries, and lists in the site collection. You can also click on subsites and see how content is stored within them. This is an excellent way of getting an overview of how your content is stored and whether there are large amounts of data that could be broken up or archived in a separate site collection.
2. Maintain smart site collection structure
The next thing to check is whether you have any large lists or libraries. The Storage Metrics page tells you how much storage your libraries and lists take up, but it doesn’t tell the actual number of items in them.
The actual number of items is important as you can run into problems with lists and libraries that have more than 5,000 items as this is the current list view threshold. Theoretically, you can store up to 30 million items, but to prevent unacceptable load on SQL Microsoft limit 5,000 items to be viewed in a list view.
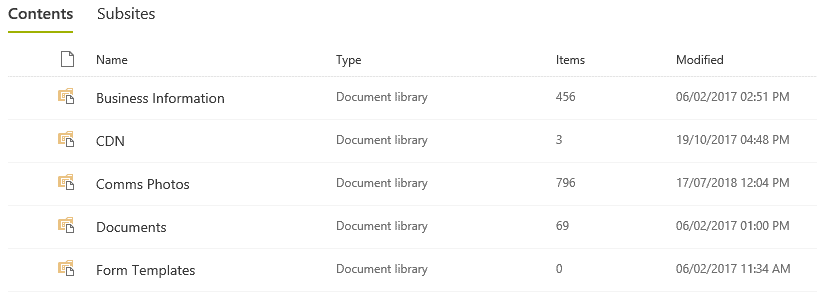
To check the number of items in lists and libraries you need to navigate to Site Contents for the specific site(s) you want to check.
Alternatively, if you have a large number of sites, you can run this PowerShell script. If you have any lists or libraries with over 5,000 (or that are approaching this number) it’s best to re-evaluate how you can manage these items.
3. Establish permissions governance
If done correctly, permissions in SharePoint ensure that public information is available easily and anything confidential is only accessible by the relevant users and departments. However, done badly, it can mean frustrated users and confused admins who don’t really know who has access to what.
To check permissions for a site you need to go to Site Settings and then Site Permissions. The best way to set permissions in SharePoint is using SharePoint or Active Directory groups rather than individual users. This makes it much easier to keep track of who has access to what. It also means that to change permissions for a user you just add or remove them from the relevant groups instead of checking every individual site for their permission levels.
While checking the permissions on your sites it is also a good idea to create and maintain a permissions matrix, which can be created in Excel or Word. This takes a bit of work to set up initially but is worth the effort as you can easily reference permissions from this rather than having to check each SharePoint site.
4. Keep an eye on external user access
One of the great things about SharePoint Online is how easy it is to share content with people outside of your organization. However, if not managed, you can end up with internal information being accessed by the wrong people or being available longer than required.
The following PowerShell script allows you to instantly see any external sharing that has been set up on your sites:
ForEach ($site in Get-SPOSite) {
Write-Host “*********”
Write-Host "Site URL: " $site.Url
Write-Host "Site Owner: "$site.Owner
Write-Host "External Sharing Status: " $site.SharingCapability
Get-SPOExternalUser -SiteUrl $site.Url
}You can then go to Site Settings and Site Permissions to amend or remove the external user’s permissions if required. When giving an external user access to your site it’s good practice to add them to a dedicated “External Access” group with custom permissions. This makes it easier to keep track of external users and what they can do on your environment.
Hopefully, this post has shown you a few relatively simple ways to check the health of your SharePoint Online environment. If you’re interested in extensive SharePoint Online health check tips, get the free SharePoint Online Health Check whitepaper.
Syskit Point – Keep your SharePoint healthy
Dear reader, this is the functionality of our former product, Syskit Security Manager. Check out our new cloud-based Microsoft 365 governance solution, Syskit Point, to monitor user activity, manage permissions, make reports, and govern your users and resources.
Keeping your environment secure and healthy is easier with Syskit Point. You can check all the critical health and security metrics from a central overview, like the number of externally shared content and the number of uniquely secured items in a list. No PowerShell required!
You can also drill down into detailed reports and check all permissions in a tenant, permissions per user, all Office 365 Groups, Teams, and OneDrive accounts.